Learn how to create binders in Homebinder. For companies without a HomeBinder integration, or to create binders for past clients.
If an inspection was not performed or you would like to create binders for past clients, you can manually create binders.
To create ONE binder, manually:
- Navigate to your binders tab.
- Select + Create Binder in the upper right corner.
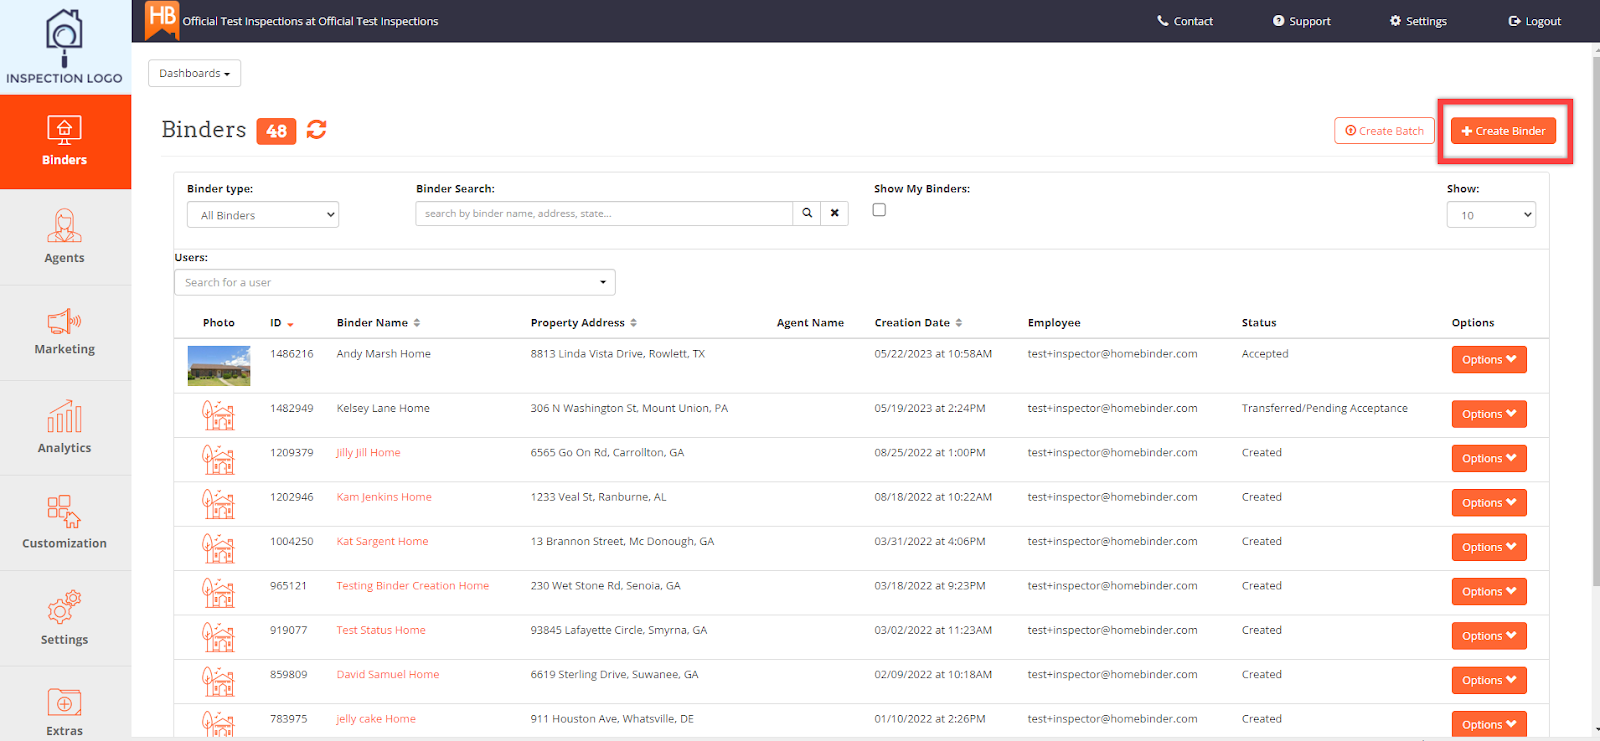
Note: Binders created manually will contain the content from your HomeBinder Template
3. Pick the date the inspection was performed.
4. Select Buy-side or Sell-side (Most are buy-side).
5. Enter the client info. This will name the binder as "Firstname Lastname Binder" which makes it easy to sort your binders by client name.
6. Enter the property info and click save. To check your work, click on the binders tab, and you should see the new binder listed on that screen.
Creating BATCHES of binders:
Navigate to your binders section.
- Select Create Batch in the upper right corner.
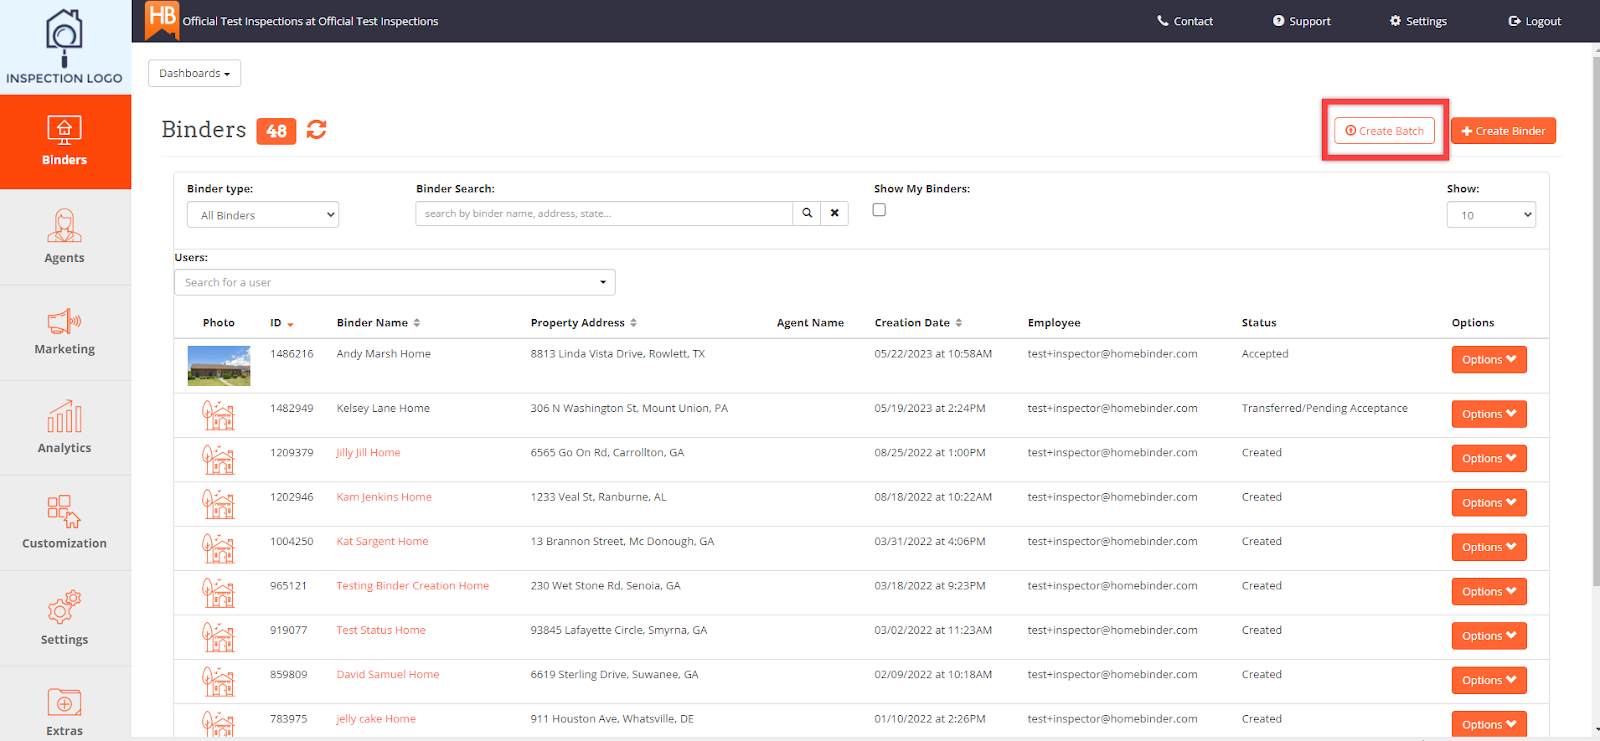
- Download the CSV template, which is an excel document that will show you how to format your content properly.
- Upload your CSV file.
Your binders will load. This should take just a few minutes. To check your work, click on the binders tab, and you should see all the binders listed on that screen.
NOTE: If you have an integration with your inspection software, you may be able to skip manual creation.
If you need additional assistance, please submit a request through iGopher for support!