This article outlines how to integrate HomeBinder with Spectora and how to automate the Binder Creation process.
For Spectora users with the Traditional HomeBinder product, we've outlined the 6 steps to help you automate the binder creation process in HomeBinder. Inspections will automatically be sent from Spectora once they are published, paid for, and all agreements are signed.
If you are using the full version of HomeBinder, which includes Repair Pricer for your agents, and the service to provide your buyers with a Home Expert to set up their utilities and other home services, integration is set up for you during onboarding.
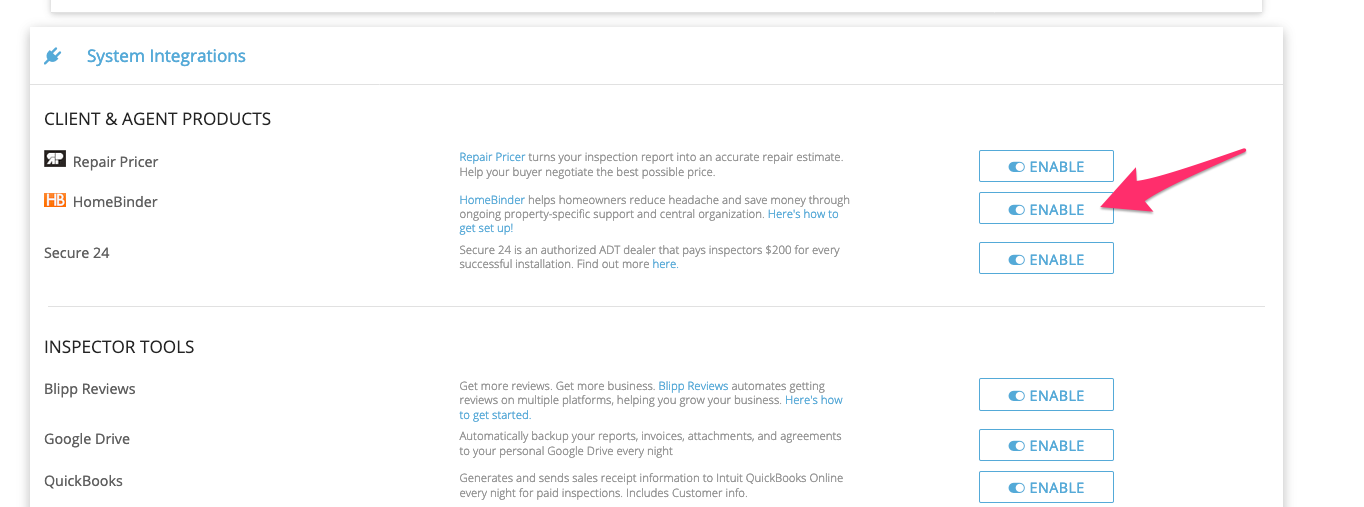
In Spectora, navigate to Settings, then select Company Settings. Under System Integrations, enable the HomeBinder integration.
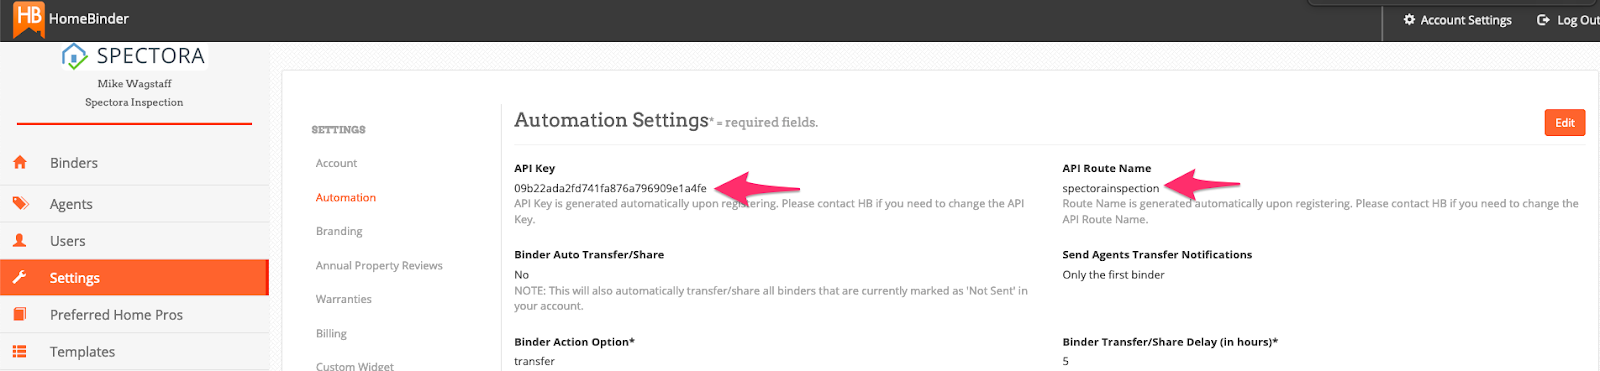
Enter your API Key and Template ID:
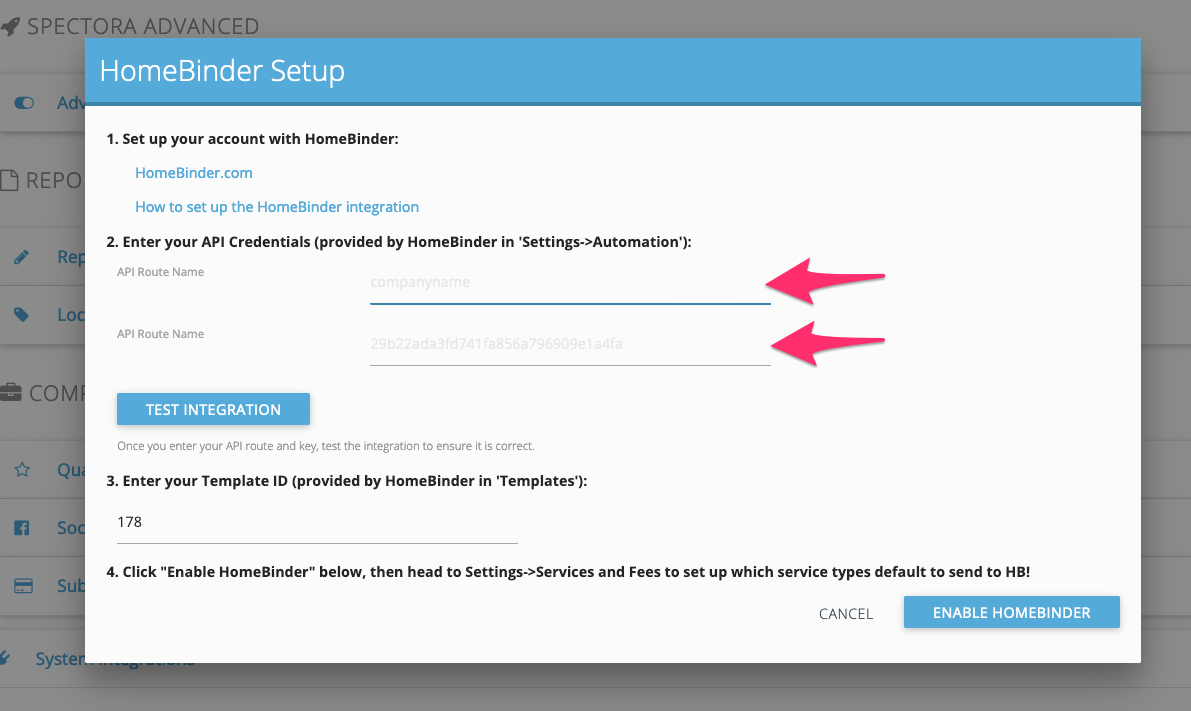
Click Test Integration to verify your credentials.
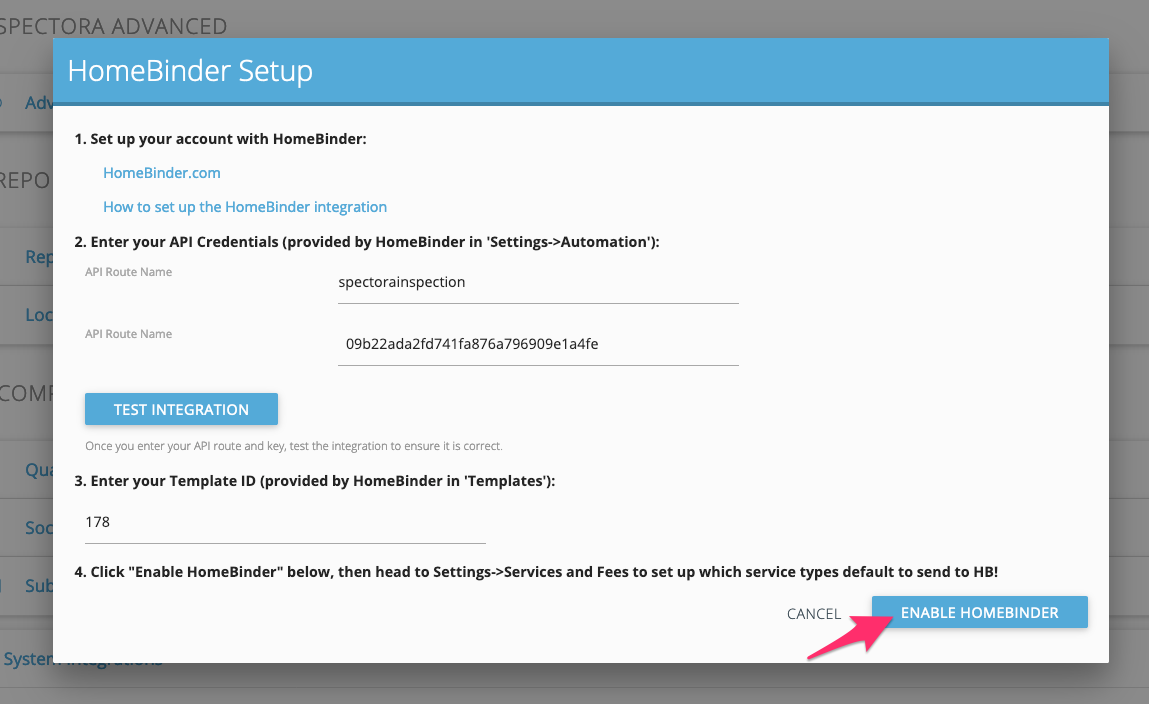
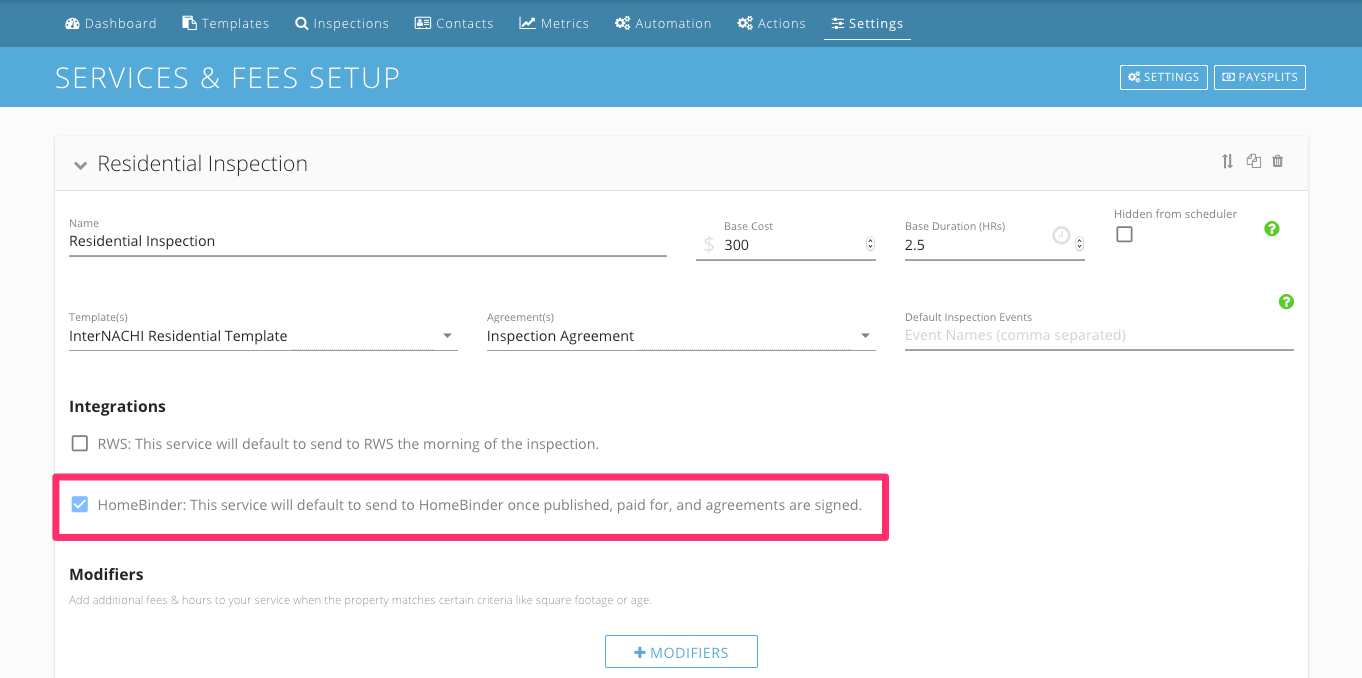
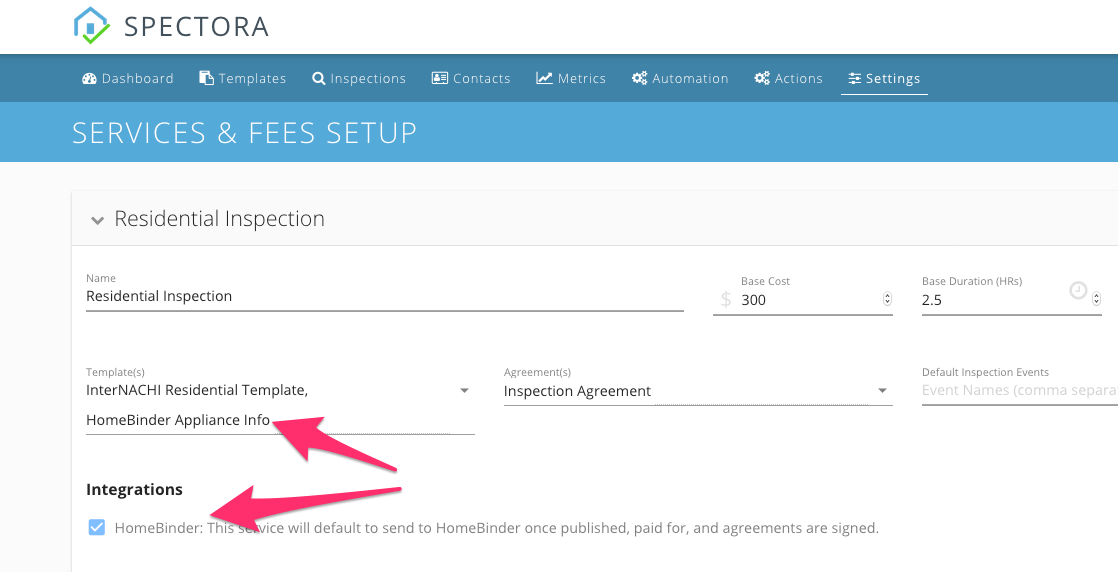
Click Enable HomeBinder, and you'll be redirected to the Services and Fees page.
Choose which service types will automatically send to HomeBinder. This sets the default for inspections scheduled through the New Inspection Form and the Online Scheduler.
Inspections
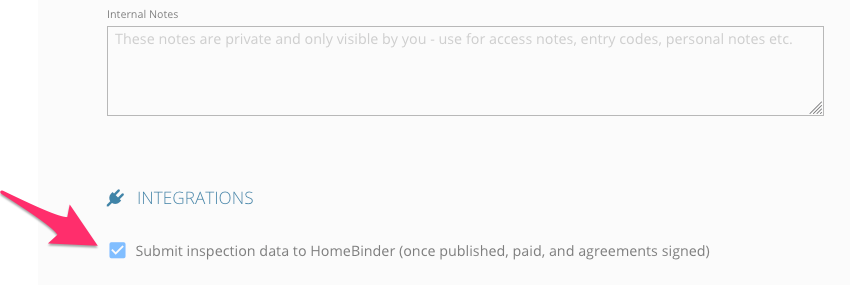
When scheduling, your defaults will now be set up to automatically submit data to HomeBinder. Override this by checking or unchecking the box, or modify it after scheduling.
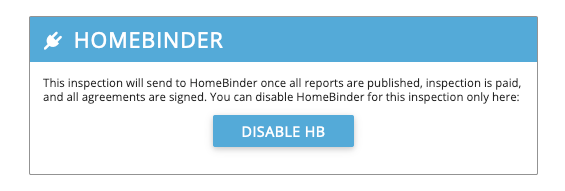
You'll know an inspection is flagged to be sent to HomeBinder by seeing this on the left column of the Inspection Details page:

Once the inspection has ALL reports published, is paid for, and has all agreements signed Spectora will send it over to HomeBinder.
FAQ
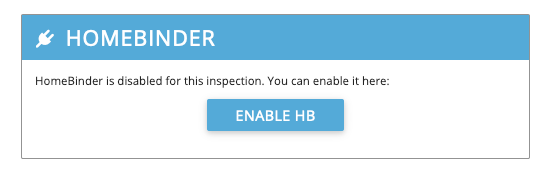
What if I want to enable/disable HomeBinder for a particular inspection?
It's easy to toggle this per-inspection! Just use these buttons in Inspection Details:
How do I include appliances information for the client?
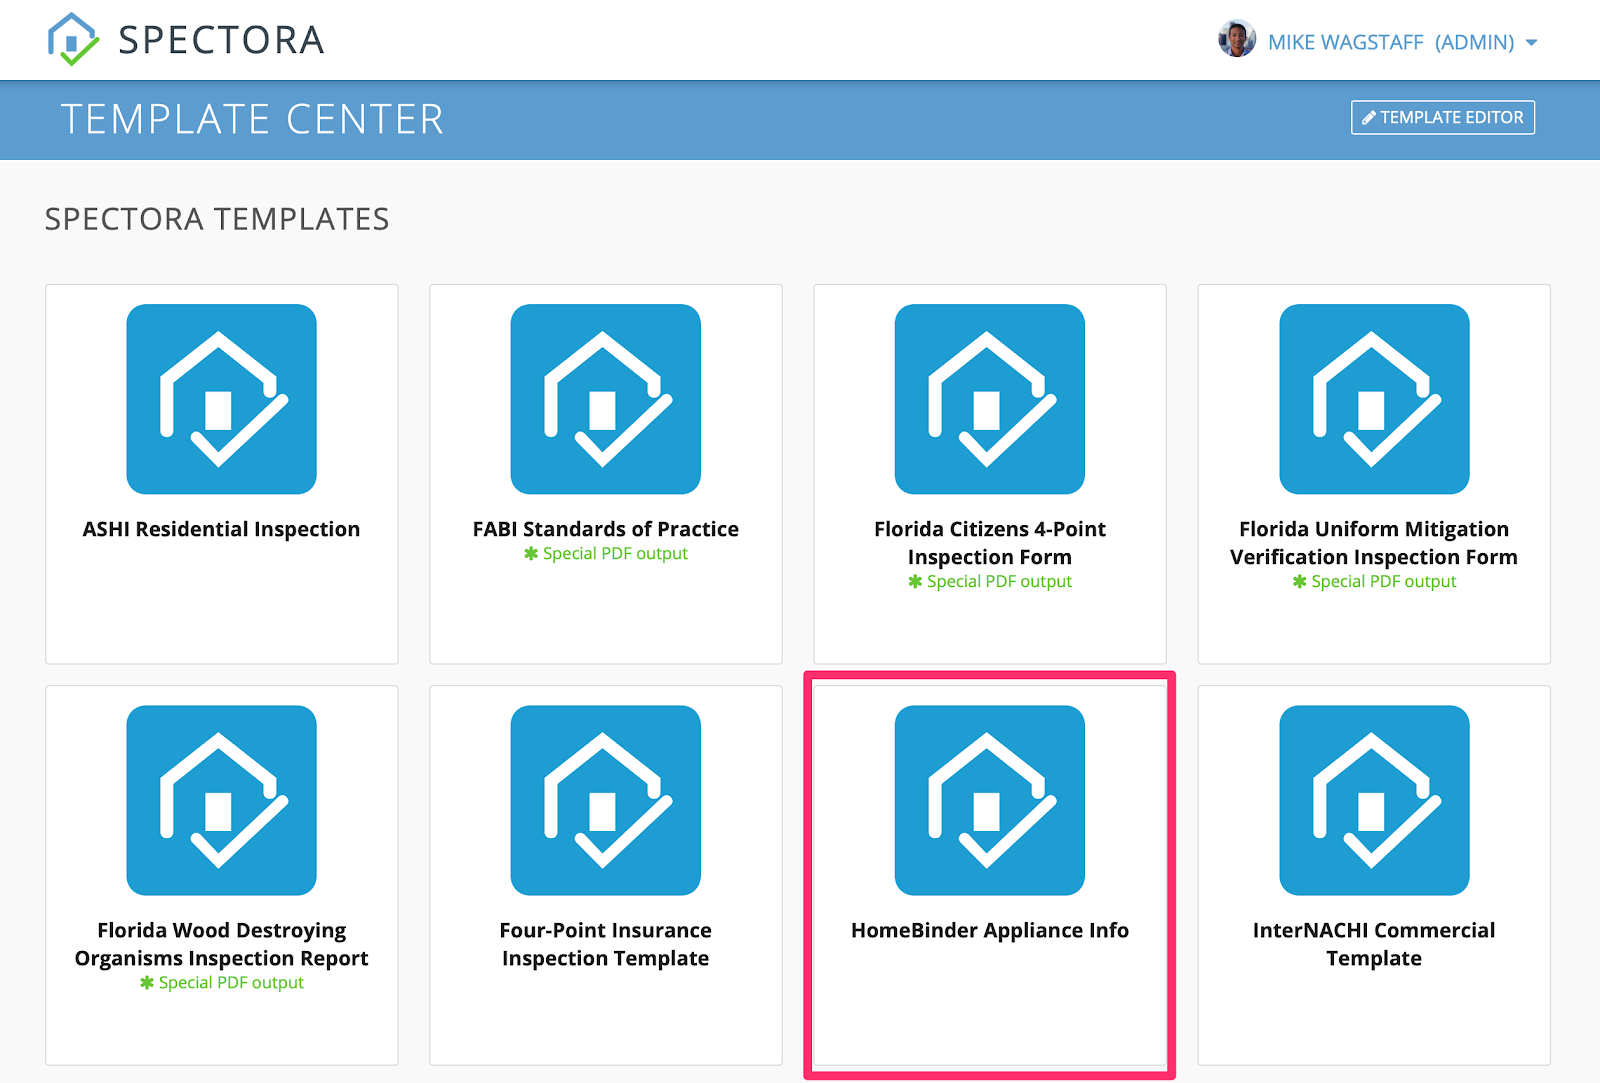
We have a specific template in our Template Center called "HomeBinder Appliance Info" that contains the required format to get this info to HomeBinder. Here's how to use it:
- Go to the Template Center and add the "HomeBinder Appliance Info" template to your account:
- The section of this template can either be copied into another template or you must include it in any Services you intend to send to HomeBinder:
- No need to manually enter any appliance information. At the inspection, simply take a clear/zoomed in photo of the appliance data plate.
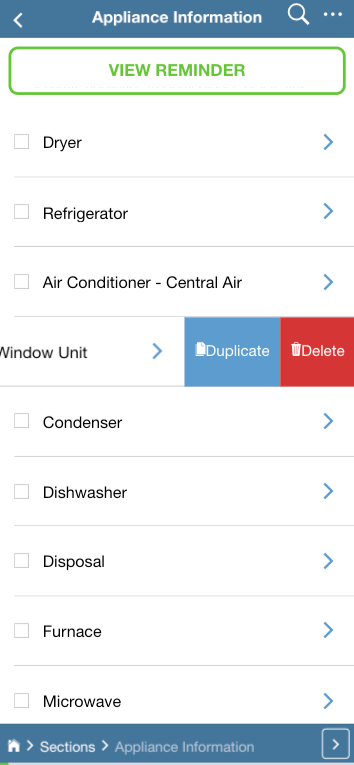
(You can delete any items that aren't needed. If you have an additional appliance that isn't listed, simply duplicate an existing one and change the name!)
- Once you publish all your reports, Spectora will automatically use this templated section to send over appliance data to HomeBinder.
If you need additional assistance, please submit a request through iGopher for support!